[译文] CSS 栅格系统(创建你自己的CSS栅格系统)
本文翻译自 Creating Your Own CSS Grid System via Jan Drewniak ,文章版权归原作者所有。
CSS栅格的概念很早就出现了,栅格的使用经常捆绑在例如Bootstrap之类的框架中。我并不讨厌Bootstrap,但是当只需要使用栅格系统的时候,使用框架会显得过于厚重。以下是经过仔细斟酌后的创建栅格系统的方法。
创建CSS栅格系统的元素
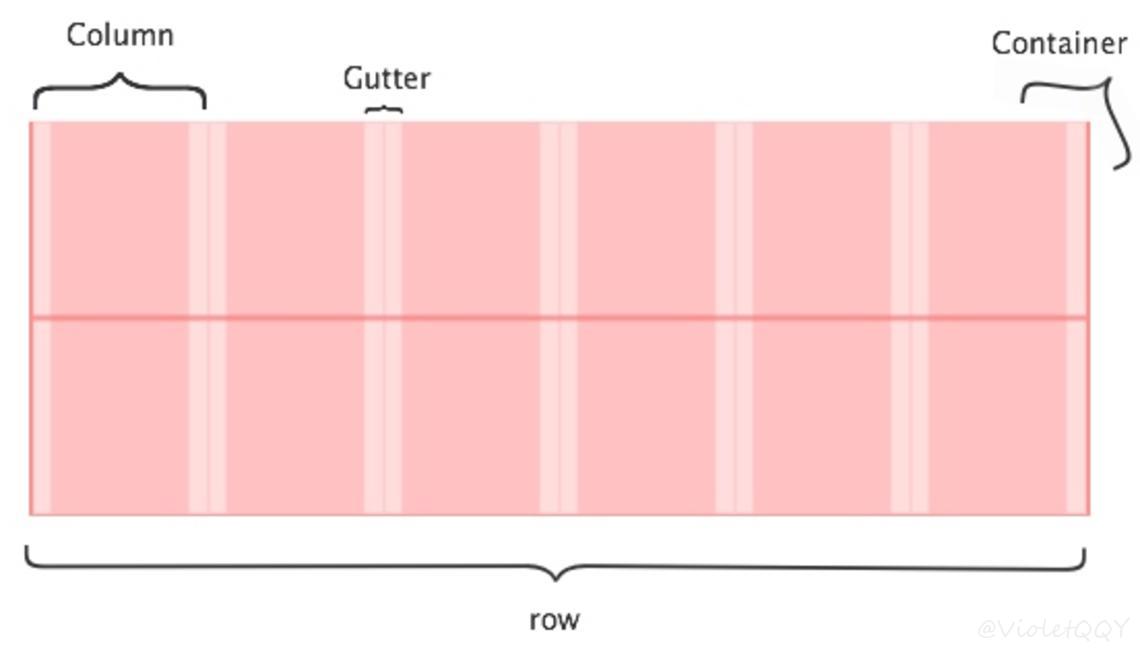
正如上图所示,基本的栅格系统址包含几个元素:
- 一个容器(a container)
- 行(rows)
- 列(columns)
- 间隙(gutters - 列之间的空隙)
容器(The Container)
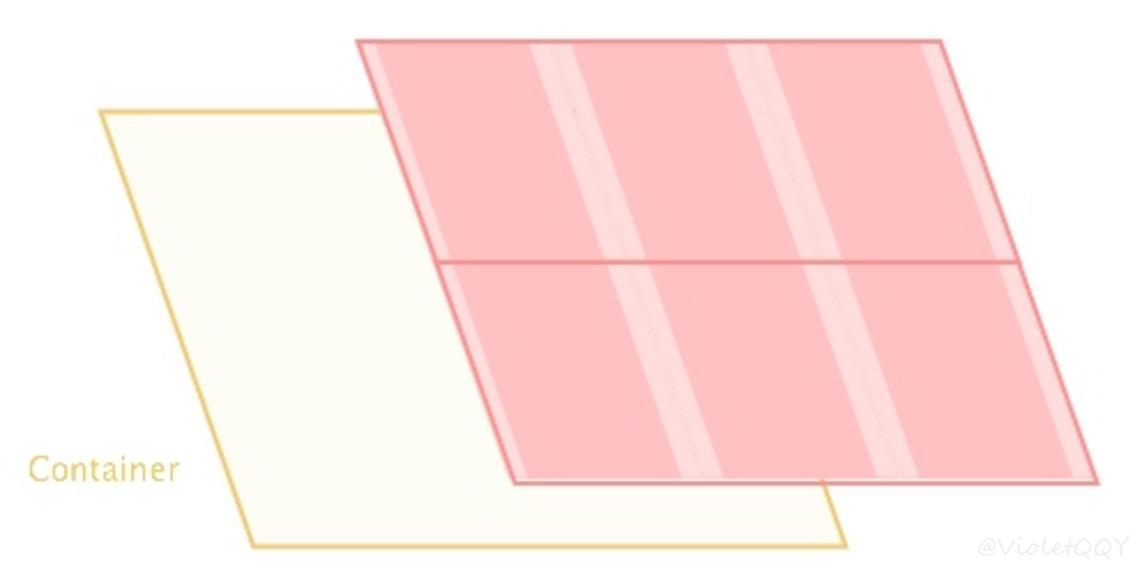
创建容器的目的是为了设置整个栅格的宽度。容器的宽度通常都会设置为100%,但是为了在很大的屏幕上显示良好,你最好设置一个max-width。
1
2
3
4
| .grid-container {
width: 100%;
max-width: 1200px;
}
|
行(The Row)
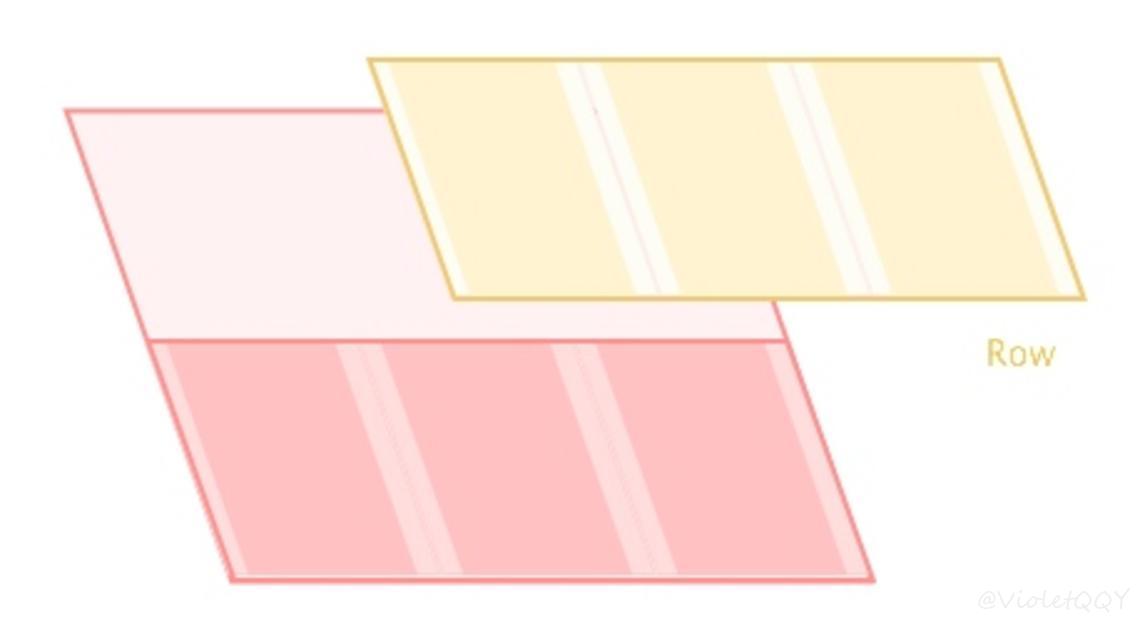
创建行元素的目的是为了当元素溢出的时候使列始终包含在行元素中。为了达到这个目的,我们使用__clearfix__的方法确保行元素里的所有元素都在该行元素内。
1
2
3
4
5
6
7
|
.row:before,
.row:after {
content: "";
display: table;
clear: both;
}
|
列(The Column)
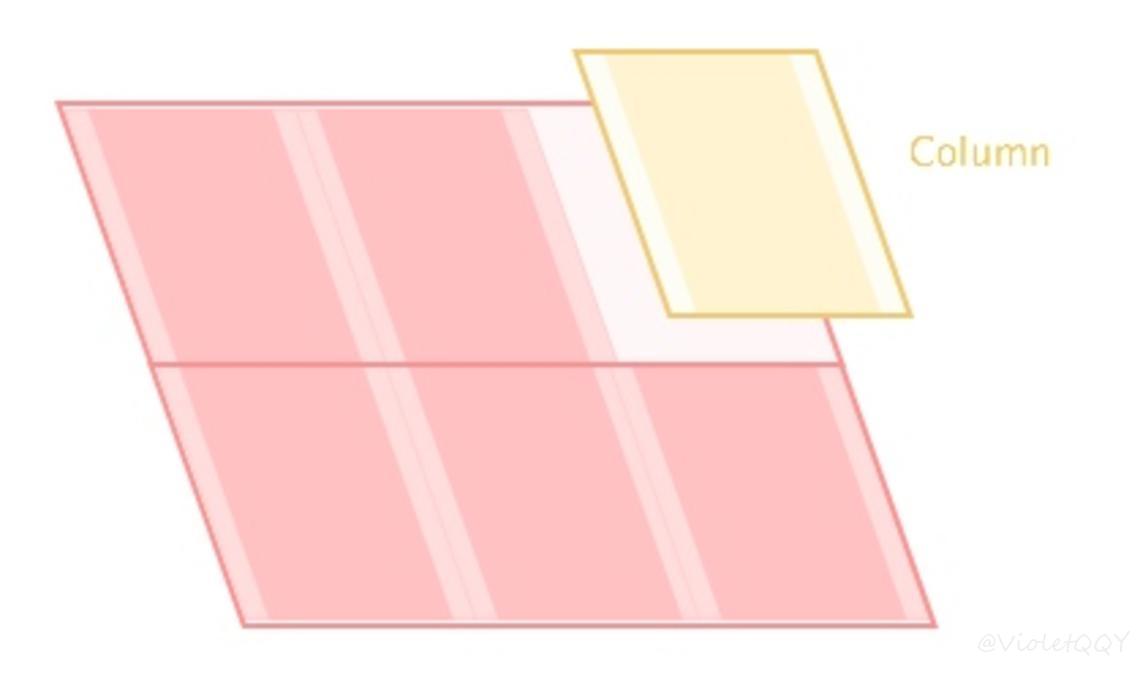
列无疑是栅格系统中最复杂的部分。首先,在CSS中有几种不同的方式可以定位列。其次,需要考虑不同宽度的列,特别是配合响应式设计的因素。在这一小节中,我们首先定位列元素以及给予它宽度,暂时不考虑响应式设计。
列的定位
float、inline-block、display-table、display-flex这些在CSS中都是不同的定位方式。从我个人的经历来看,最不易出错和最广泛使用的定位方式是float方式。然而如果我们的列是空的,使用浮动定位的列会叠在空列上面。为了避免这种情况,我们会给我们的列一个最小高度为1px,使列能正常浮动。
1
2
3
4
| [class*='col-'] {
float: left;
min-height: 1px;
}
|
列的宽度
为了找到列的宽度,我们只需要将整个容器的宽度按照一定的规则进行分割。在我们的案例中,容器的宽度是100%,然后我们将它分成六列,这样每一列的宽度就是100/6 = 16.66,所以我们的基本宽度是16.66%。
1
2
3
4
5
| [class*='col-'] {
float: left;
min-height: 1px;
width: 16.66%;
}
|
到这里还只是个开始,如果我们希望一部分是两列宽的,我们需要创建一个两列的宽度。整个计算很简单。
1
2
3
4
5
6
7
8
9
10
11
12
13
14
15
16
17
18
| .col-1 {
width: 16.66%;
}
.col-2 {
width: 33.33%;
}
.col-3 {
width: 50%;
}
.col-4 {
width: 66.664%;
}
.col-5 {
width: 83.33%;
}
.col-6 {
width: 100%;
}
|
在使用时,我们唯一需要考虑的是在组合使用列的时候,保证每一行里列数的总和不超过6(也就是列的宽度总和必须小于100%)。
列的间隙
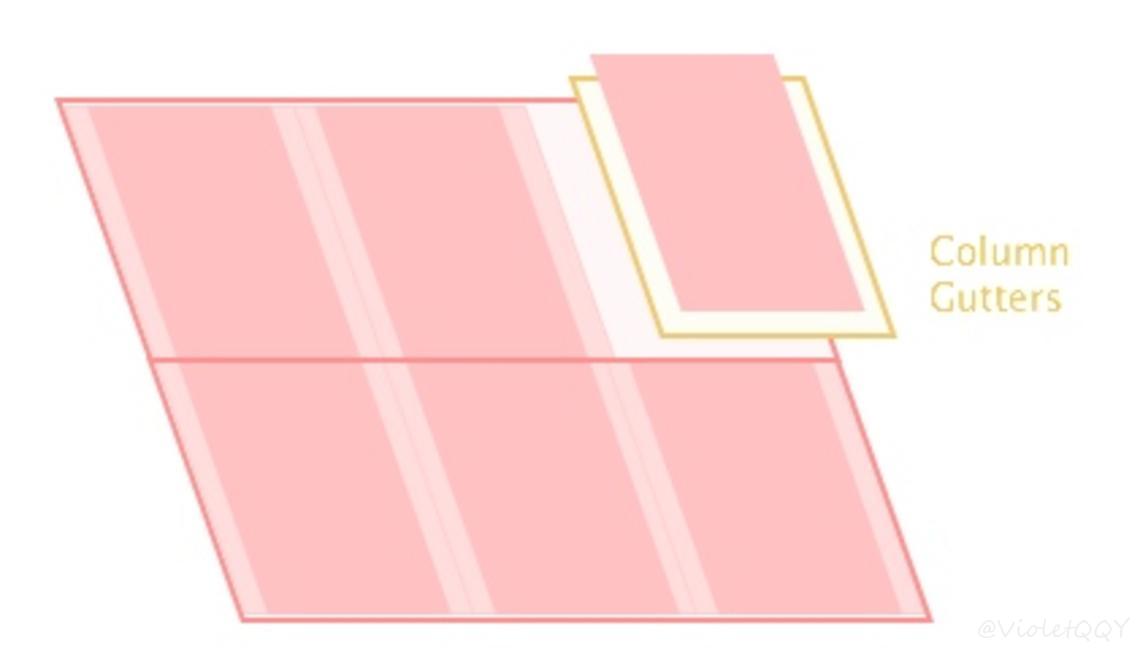
在使用border-box盒模型之前,给每一列设置 padding 是一件很痛苦的事情。幸运的是,在border-box盒模型之下我们可以很容易的设置列之间的间隙。
1
2
3
4
5
6
7
8
9
10
11
12
|
.grid-container * {
box-sizing: border-box;
}
[class*='col-'] {
float: left;
min-height: 1px;
width: 16.66%;
padding: 12px;
}
|
(个人建议,我通常会在css里设置 * {box-sizing: border-box;},来使整个页面都是用border-box的盒模型来渲染。)
1
2
3
4
5
6
7
8
9
10
11
12
13
14
15
16
17
18
19
| <div class="grid-container outline">
<div class="row">
<div class="col-1"><p>col-1</p></div>
<div class="col-1"><p>col-1</p></div>
<div class="col-1"><p>col-1</p></div>
<div class="col-1"><p>col-1</p></div>
<div class="col-1"><p>col-1</p></div>
<div class="col-1"><p>col-1</p></div>
</div>
<div class="row">
<div class="col-2"><p>col-2</p></div>
<div class="col-2"><p>col-2</p></div>
<div class="col-2"><p>col-2</p></div>
</div>
<div class="row">
<div class="col-3"><p>col-3</p></div>
<div class="col-3"><p>col-3</p></div>
</div>
</div>
|
1
2
3
4
5
6
7
8
9
10
11
12
13
14
15
16
17
18
19
20
21
22
23
24
25
26
27
28
29
30
31
32
33
34
35
36
37
38
39
40
41
42
43
44
45
46
| * {
box-sizing: border-box;
}
.grid-container {
margin: 0 auto;
width: 100%;
max-width: 1200px;
}
.row:before,
.row:after {
content: "";
display: table;
clear:both;
}
[class*='col-'] {
float: left;
min-height: 1px;
width: 16.66%;
padding: 12px;
background-color: #FFDCDC;
}
.col-1 { width: 16.66%; }
.col-2 { width: 33.33%; }
.col-3 { width: 50%; }
.col-4 { width: 66.66%; }
.col-5 { width: 83.33%; }
.col-6 { width: 100%; }
.outline, .outline * {
outline: 1px solid #F6A1A1;
}
[class*='col-'] > p {
background-color: #FFC2C2;
padding: 0;
margin: 0;
text-align: center;
color: white;
}
|
第二部分:响应式设计的栅格系统
调整我们的栅格系统以适应手机布局是非常简单的,我们所需要做的就是调整列的宽度。
为了清楚起见,在布局小于800px时,我将列的宽度设置为原来的两倍。
唯一需要注意的是,在最后一列的宽度设置上存在一些例外。比如当宽度为.col-2的列和宽度为.col-1的列在宽度为.col-5的列旁边的时候。
为了解决这个问题,我们将每一行的最后一个宽度为.col-2的元素和.col-1的元素设置为 100% 的宽度。
1
2
3
4
5
6
7
8
9
10
11
12
13
14
15
16
| @media all and (max-width:800px) {
.col-1 { width: 33.33%; }
.col-2 { width: 50%; }
.col-3 { width: 83.33%; }
.col-4 { width: 100%; }
.col-5 { width: 100%; }
.col-6 { width: 100%; }
.row .col-2:last-of-type {
width: 100%;
}
.row .col-5 ~ .col-1 {
width: 100%;
}
}
|
这一切就是这样的。我们现在就可以在不使用任何框架的情况下创建我们自己的响应式栅格系统。
1
2
3
4
5
6
7
8
9
10
11
12
13
14
15
16
17
18
19
20
21
22
23
24
25
26
27
28
29
30
| <div class="grid-container outline">
<div class="row">
<div class="col-1"><p>col-1</p></div>
<div class="col-1"><p>col-1</p></div>
<div class="col-1"><p>col-1</p></div>
<div class="col-1"><p>col-1</p></div>
<div class="col-1"><p>col-1</p></div>
<div class="col-1"><p>col-1</p></div>
</div>
<div class="row">
<div class="col-2"><p>col-2</p></div>
<div class="col-2"><p>col-2</p></div>
<div class="col-2"><p>col-2</p></div>
</div>
<div class="row">
<div class="col-3"><p>col-3</p></div>
<div class="col-3"><p>col-3</p></div>
</div>
<div class="row">
<div class="col-4"><p>col-4</p></div>
<div class="col-2"><p>col-2</p></div>
</div>
<div class="row">
<div class="col-5"><p>col-5</p></div>
<div class="col-1"><p>col-1</p></div>
</div>
<div class="row">
<div class="col-6"><p>col-6</p></div>
</div>
</div>
|
值得注意的是,本指南仅仅只是创建栅格系统的起点。这不是一个框架,甚至也不是一个完整的解决方案,但我希望这会在你创建CSS栅格系统的过程中起到通俗易懂的作用。


